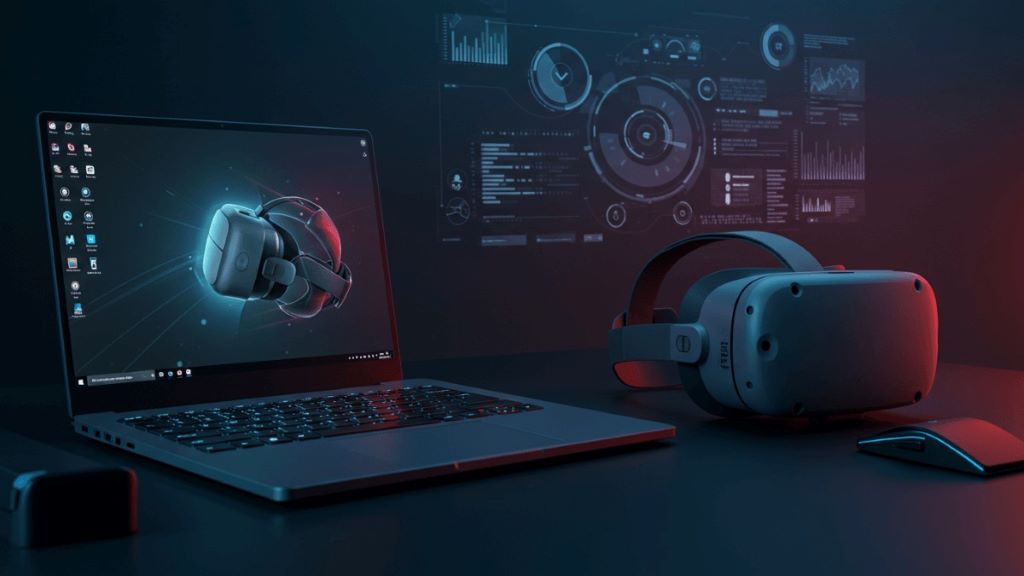
Virtual Reality (VR) is no longer a futuristic concept—it’s a thrilling reality that’s changing how we play games, explore worlds, and connect with technology. But maximizing that immersive experience means your gaming laptop needs to be up to the task. How do you take a powerful gaming laptop and turn it into a VR powerhouse? If you’ve been asking, “How to optimize my gaming laptop for VR?”, this guide is for you.
Whether you’re a VR newbie or a seasoned player looking to squeeze every ounce of performance, optimizing your gaming laptop for VR can dramatically improve the quality, smoothness, and enjoyment of your virtual adventures.
Why Optimizing Your Gaming Laptop for VR Matters
VR isn’t your typical gaming scenario—it demands more from your laptop’s hardware and software alike. Unlike traditional gaming, where single-screen frame rates matter, VR requires ultra-smooth, consistent frame rates (usually 90 FPS or higher) on two displays (one per eye). This puts extra strain on your GPU, CPU, RAM, and even your ports and drivers.
A poorly optimized gaming laptop can lead to:
- Motion sickness caused by low or inconsistent frame rates
- Visual tearing and lag that breaks immersion
- Overheating and thermal throttling
- Reduced battery life and system responsiveness
Optimizing your machine ensures higher frame rates, less latency, and the best VR experience possible.
Step 1: Check if Your Gaming Laptop Meets VR Minimum Requirements
Before diving into optimization, make sure your laptop is VR-ready. Minimum specs generally include:
- CPU: Quad-core processor, Intel i5-4590 or AMD Ryzen 5 1500X equivalent or better
- GPU: NVIDIA GTX 1060 / AMD Radeon RX 480 or better
- RAM: At least 8GB (16GB recommended)
- Video outputs: HDMI 1.3 or DisplayPort 1.2 required by most VR headsets
- Operating System: Windows 10 64-bit or newer
- USB ports: At least one USB 3.0 port and two USB 2.0 ports
If your laptop falls short, you may encounter performance problems no matter what optimizations you try. Consider hardware upgrades, or evaluate whether your laptop can handle VR at all.
Step 2: Update Graphics Drivers and VR Software
One of the easiest ways to improve VR performance is keeping your drivers and software up to date.
- Download the latest NVIDIA GeForce Experience or AMD Radeon Software drivers to ensure compatibility and smooth running.
- Update your VR platform software like SteamVR, Oculus Runtime, or Windows Mixed Reality.
- Check for firmware updates for your VR headset and connected accessories.
Updated drivers often include optimizations specifically for VR games and applications, reducing bugs and improving frame rates.
Step 3: Optimize In-Game and VR Application Settings
VR-ready laptops are powerful but not invincible. Tweaking settings can greatly improve frame rates without sacrificing too much visual fidelity.
- Lower render resolution: VR games often offer a render resolution scale slider. Dropping this below 100% can boost performance with minimal visual impact.
- Reduce settings like shadows, anti-aliasing, and post-processing: These effects are graphically expensive and lowering them helps maintain steady frame rates.
- Disable unnecessary graphical features: Turn off V-Sync or motion blur to reduce input lag and stutter.
- Use fixed frame rates: Some apps allow you to lock the frame rate to 90 FPS to prevent dips that cause nausea.
Test these settings per game or app to find the sweet spot between visuals and smoothness.
Step 4: Manage Background Processes and Power Settings
VR puts a heavy load on your laptop, so free up as much system resources as possible.
- Close all unnecessary background applications, especially resource-hogs like browsers, chat apps, and update services.
- Set your Windows power plan to High Performance to prevent CPU or GPU throttling under load.
- Disable startup programs that drain CPU cycles.
- Use Task Manager or performance monitoring software to identify and kill processes hogging resources.
These tweaks ensure your laptop’s hardware is dedicated to VR.
Step 5: Improve Thermal Management to Avoid Throttling
VR gaming pushes your GPU and CPU to the limits, generating lots of heat. Overheating leads to thermal throttling, where components slow down to cool off, causing frame rate drops and lag.
Here’s how to keep temps down:
- Use a cooling pad or external fans to improve airflow.
- Make sure your laptop’s vents and fans are clean and unobstructed.
- Consider repasting the CPU/GPU with high-quality thermal paste if you’re comfortable opening your laptop.
- Keep your gaming environment cool and well-ventilated.
- Monitor temperatures with tools like HWMonitor or MSI Afterburner and adjust workloads accordingly.
Stable temperature control keeps your laptop performing at peak for longer VR sessions.

Step 6: Adjust Laptop and VR Headset Connection Settings
The right connection setup can significantly impact VR performance.
- Prefer DisplayPort over HDMI if your laptop and headset support it, as it typically offers higher bandwidth and fresher frame rates.
- Use USB 3.0 or higher ports for VR sensors and controllers to ensure low latency.
- Enable USB selective suspend setting in the power management tab to prevent USB disconnects during VR gameplay.
- If available, use a VR-ready docking station or a USB hub designed for VR to reduce cable clutter and improve connection stability.
Checking cables for damage and ensuring secure connections helps avoid technical interruptions mid-game.
Step 7: Enable VR-Specific GPU Features and Overclocking (Advanced)
For enthusiasts who want to push performance further, advanced GPU features can help:
- Enable NVIDIA G-Sync or AMD FreeSync to reduce tearing and stutter.
- Use tools like MSI Afterburner to carefully overclock your GPU and VRAM, increasing performance but monitoring temperatures closely.
- Disable battery saver or power limits in your laptop’s BIOS or software to allow sustained peak CPU/GPU performance.
Note: Overclocking risks overheating and system instability, so proceed cautiously and keep a close eye on temperatures.
Frequently Asked Questions (FAQs)
Q1: Can all gaming laptops run VR smoothly?
No, only those meeting or exceeding VR minimum specs with compatible ports and drivers can run VR content well without lag or stuttering.
Q2: Is upgrading RAM or storage important for VR?
While VR mainly relies on GPU and CPU power, having at least 16GB RAM helps with multitasking and smoother loading times. Fast SSD storage reduces load delays.
Q3: Should I use wired or wireless VR on a laptop?
Wired connections provide more stable and lower-latency performance. Wireless VR is convenient but may introduce lag or quality loss, especially on older laptops.
Q4: Why is my VR headset showing low frame rates on my gaming laptop?
Low frame rates usually indicate insufficient GPU power, outdated drivers, overheating, or too high graphics settings. Optimize accordingly.
Q5: Can cooling pads really help VR performance?
Yes, cooling pads reduce laptop temps, preventing thermal throttling which otherwise limits GPU/CPU performance.
Conclusion: Ready to Elevate Your VR Gaming Experience?
Optimizing your gaming laptop for VR isn’t just a one-time setup — it’s a combination of hardware checks, software updates, smart settings tweaks, and proactive thermal management. By following these steps, you’ll unlock smoother gameplay, richer visuals, and a truly immersive virtual reality experience that brings your favorite games and apps to vivid life.
Related Topics:
3 Tips To Protect Your Privacy On The Internet


